Connecting Hasura to a Neon Serverless Postgres Database
Introduction
This guide explains how to connect a new Neon serverless Postgres database to a Hasura Cloud instance.
Creating a New Neon Database
Step 1: Sign up or log in to Hasura Cloud
Navigate to Hasura Cloud and sign up or log in.
Step 2: Create a Hasura Cloud project
On the Hasura Cloud dashboard, create a new project:
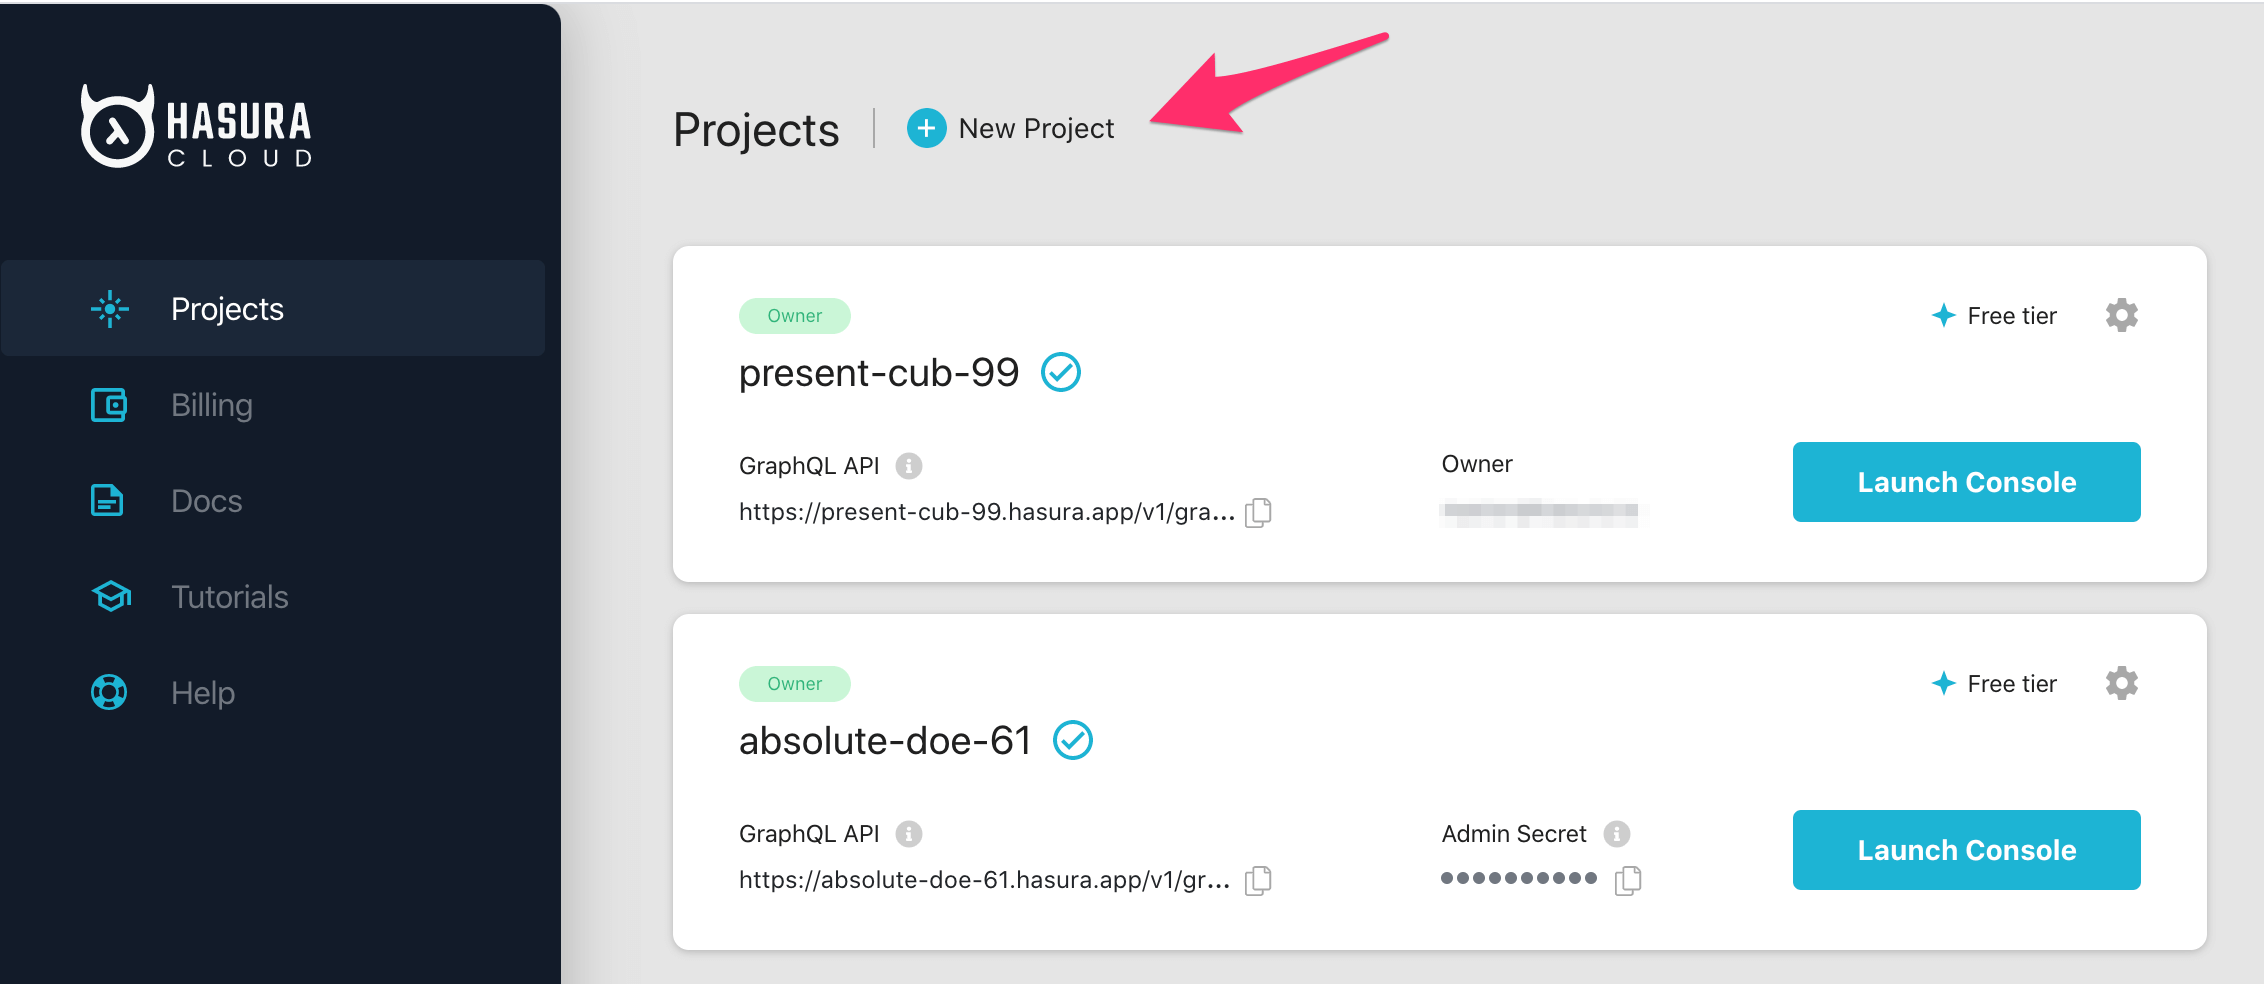
After the project is initialized successfully, click on Launch Console to open the Hasura Console in your browser.
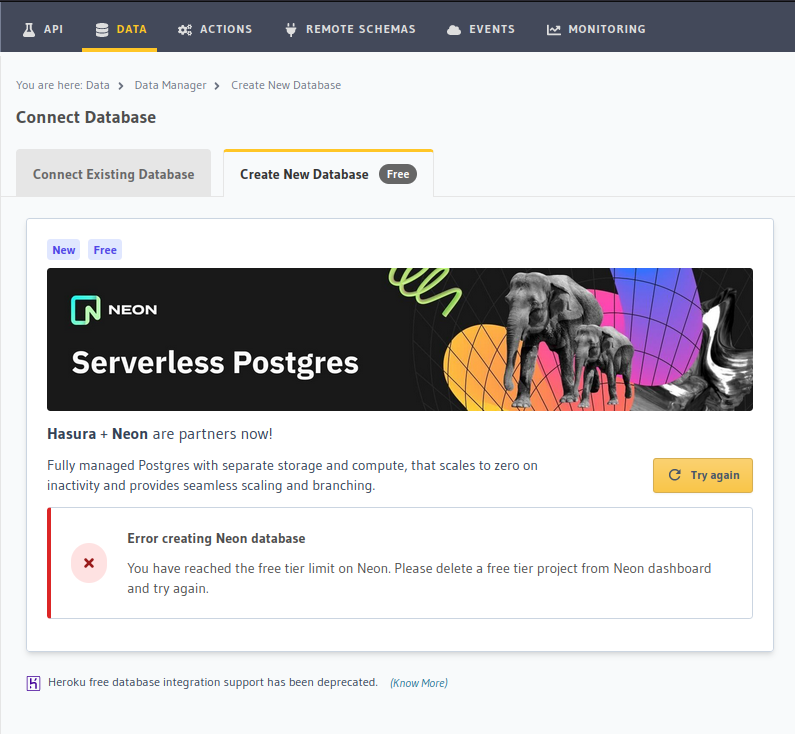
On the Hasura Console, navigate to Data -> Manage -> Connect Database -> Create New Database:
Click on Connect Neon Database to create and connect a new Postgres database to your Hasura project.

On the next step, you'll be prompted to Login/Sign up for Neon. We recommend Continue with Hasura for a seamless
experience.
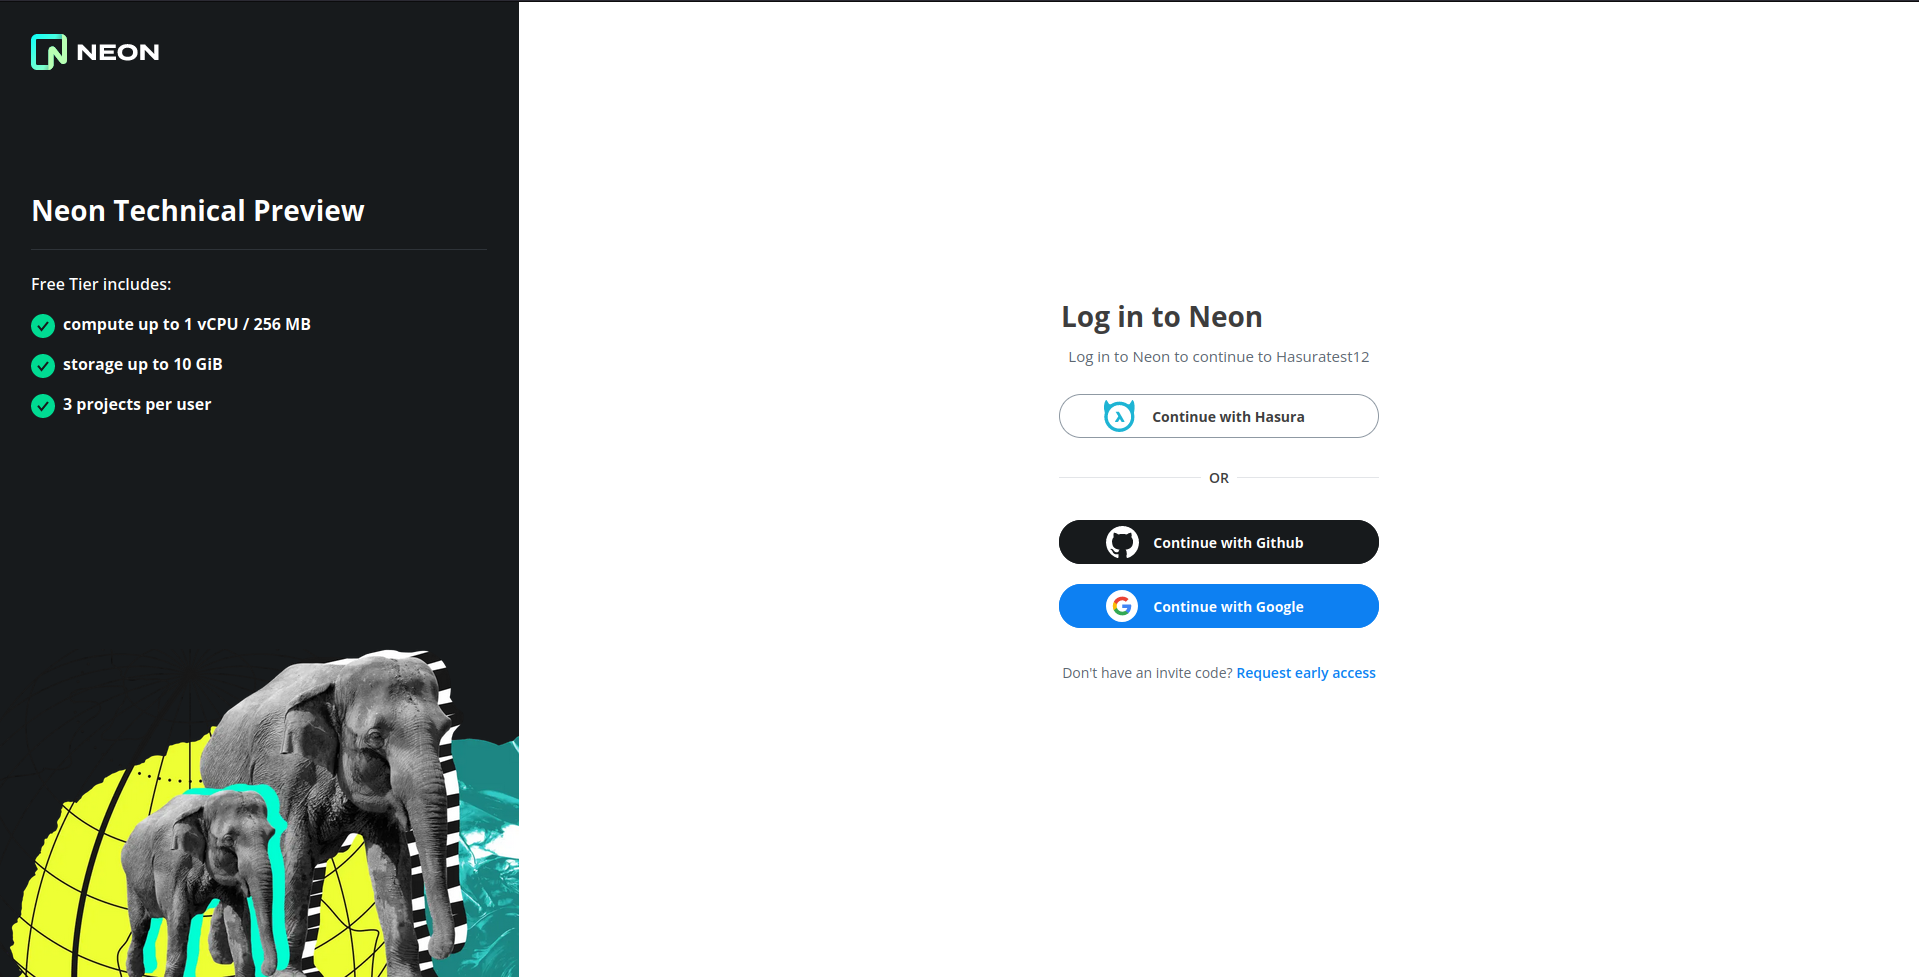
After successful authorization, a new Neon Postgres database will be created and connected to your Hasura project with
the connection string associated with the environment variable PG_DATABASE_URL.
Step 3 (optional): Load a template
Once the database is successfully connected, you can explore Hasura's GraphQL API by loading any of the templates from the template gallery instantly.
For example: to get started, you could try the Welcome to Hasura template:
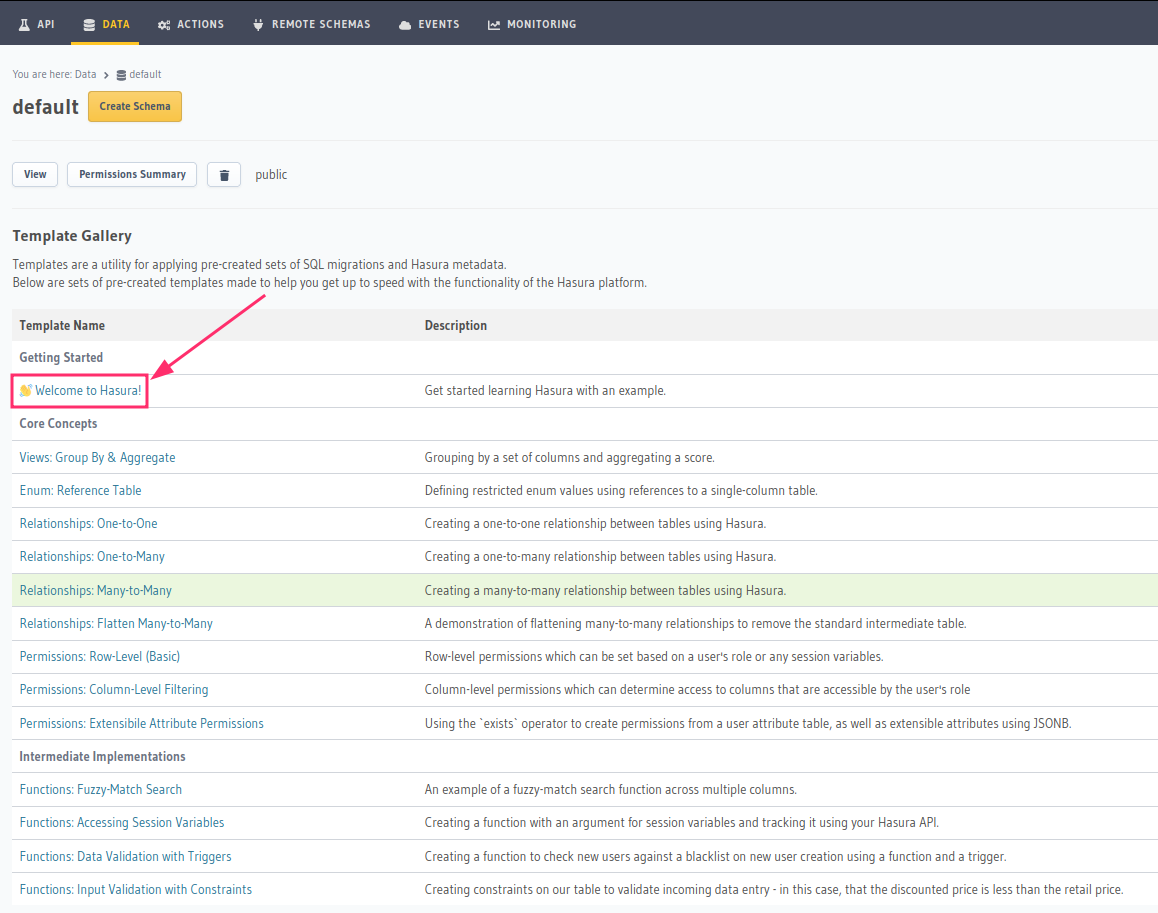
This installs a schema with data that you can now query using your Hasura GraphQL API from the API tab.
Voilà! You are ready to start developing.

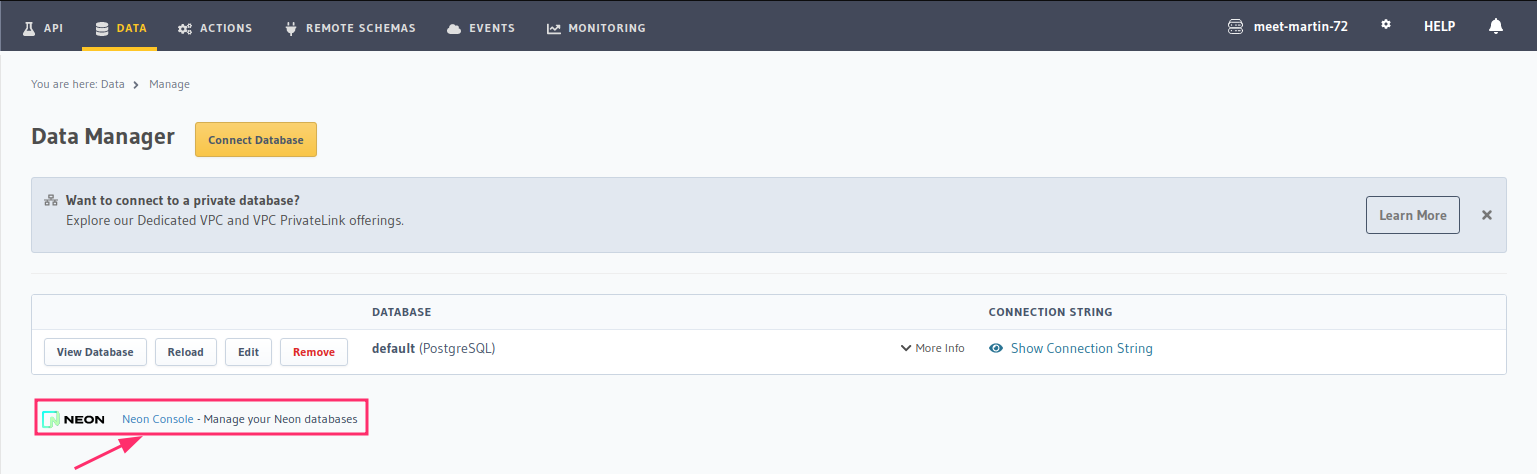
You can visit the Neon console from the Data tab to manage your created database.
Migrating an existing database to Neon
If you want to migrate your existing database to Neon, you must use Postgres's pg_dump utility to copy over your
database.
pg_dump -h <host> -U <username> <dbname> | psql <neon-connection-string>
For more info, follow Neon's detailed guide for importing a database.
If you're migrating from Heroku, check out Neon's platform-specific migration guide.
Neon Free Tier
With Neon's Free Tier, you can create one free project with the following limits:
- 10 branches
- 3 GB of storage per branch
- Up to 3 compute endpoints with 1 vCPU and 4 GBs of RAM
- A point-in-time restore window of 7 days of reasonable usage
For more info, check out Neon's Technical Preview Free Tier.
If you've already reached the Neon free-tier project limit, please head to your Neon console and delete an unused project to be able to create and connect a new one from the Hasura Console.
For more information on which Postgres features we support, check out this page!